The wolf cut is the rebellious love child of a shag and a mullet, delivering volume, texture, and effortless cool. But what if your hair is on the finer side? Can you still rock this trending style? Absolutely. The key lies in customization. The right wolf cut for thin hair can actually create the illusion of density, adding body where it’s needed most without weighing strands down. It’s all about strategic layering, soft blending, and choosing the perfect length. Ready to transform limp locks into a wild, voluminous mane? Here are 26 wolf cut variations specifically tailored to breathe life into thin hair.
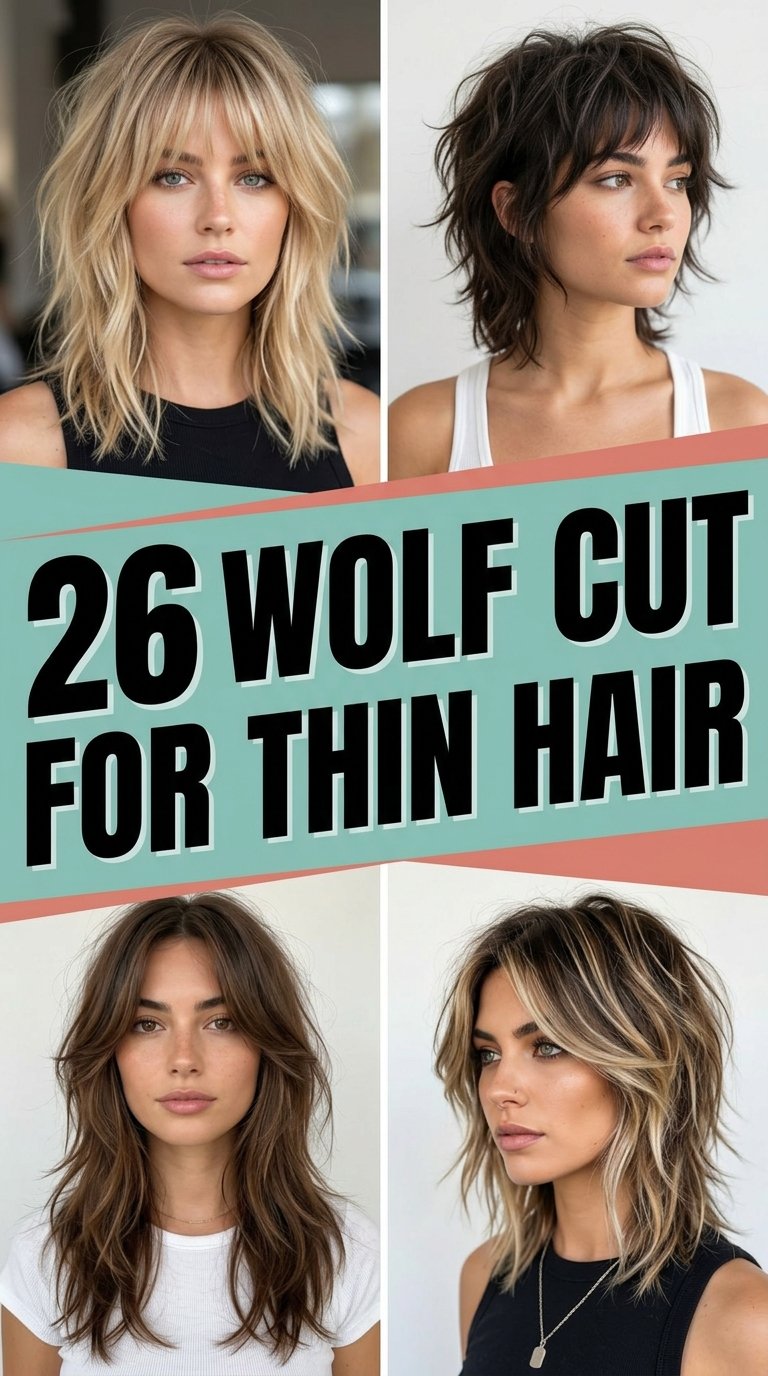
1. Soft Choppy Layers

The foundation of any great wolf cut for fine hair is a soft, choppy layer. Instead of hard, blunt lines that can make thin hair look stringy, ask your stylist for feathered, wispy ends. This technique removes bulk intelligently, creating movement and a piece-y texture that stops the hair from falling flat. The choppiness reflects light differently across the varying lengths, instantly creating a visual depth that mimics thicker, fuller strands without heavy styling products that might cause limpness later in the day.
2. Curtain Bangs with Wispy Ends

Pairing your wolf cut with curtain bangs is a strategic move for thin hair. The center-parting split naturally adds lift at the crown, combating flat roots. When those bangs are cut with wispy, feathered ends rather than a solid block, they blend seamlessly into the face-framing layers. This softens your features and draws the eye diagonally across your face. The sheer nature of wispy bangs prevents the forehead from looking heavy, maintaining an airy lightness that is essential for avoiding a greasy, weighed-down appearance.
3. Volumizing Root Perm Technique
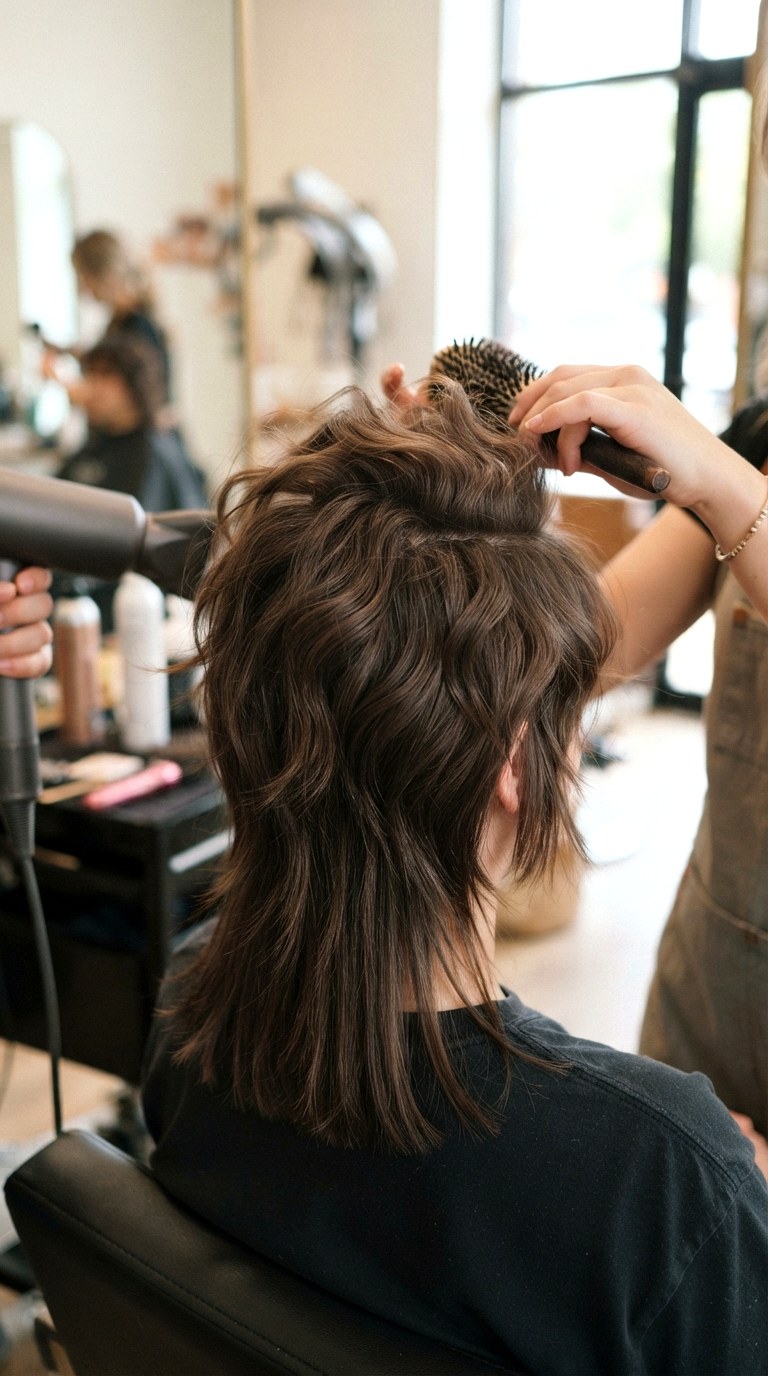
Sometimes scissors aren’t enough; chemistry is your friend. A root perm specifically applied only to the top section of your wolf cut can permanently boost basal volume. Unlike full perms that might damage fine hair, a root lift creates the necessary shelf for the shaggy layers to sit upon. This means your wolf cut maintains its shape and height 24/7. Discuss a digital perm with your stylist to ensure a soft, modern wave that supports the wild, untamed silhouette of the wolf cut without crossing into tight, dated curl territory.
4. Micro Bangs for Density Illusion

Don’t fear the micro bang. When you have thin hair, a standard heavy fringe can look sparse. However, a cropped, textured micro bang creates a sharp horizontal line that makes the hair behind it appear denser by contrast. This architectural cut sits high on the forehead, adding an edgy, fashion-forward vibe to the wolf cut. It removes weight from the front hairline, allowing the crown layers to spring upward. The result is a punk-inspired look that cleverly diverts attention from overall density to the intentional geometry of the cut.
5. Textured Bob Wolf Hybrid

Merge the wolf cut with a classic bob length. Keeping the length at the collarbone or above prevents the weight of the hair from pulling the roots flat, a common problem for thin strands. The “bob-wolf” hybrid utilizes heavy texturizing shears to slice into the ends, creating a feathered, airy perimeter. This stacked layering in the back builds a natural roundness, while the disconnected shorter layers on top explode with texture. It’s the ultimate wash-and-go shape that dries quickly and holds volume significantly longer than longer versions.
6. Razor Cut Feathered Ends
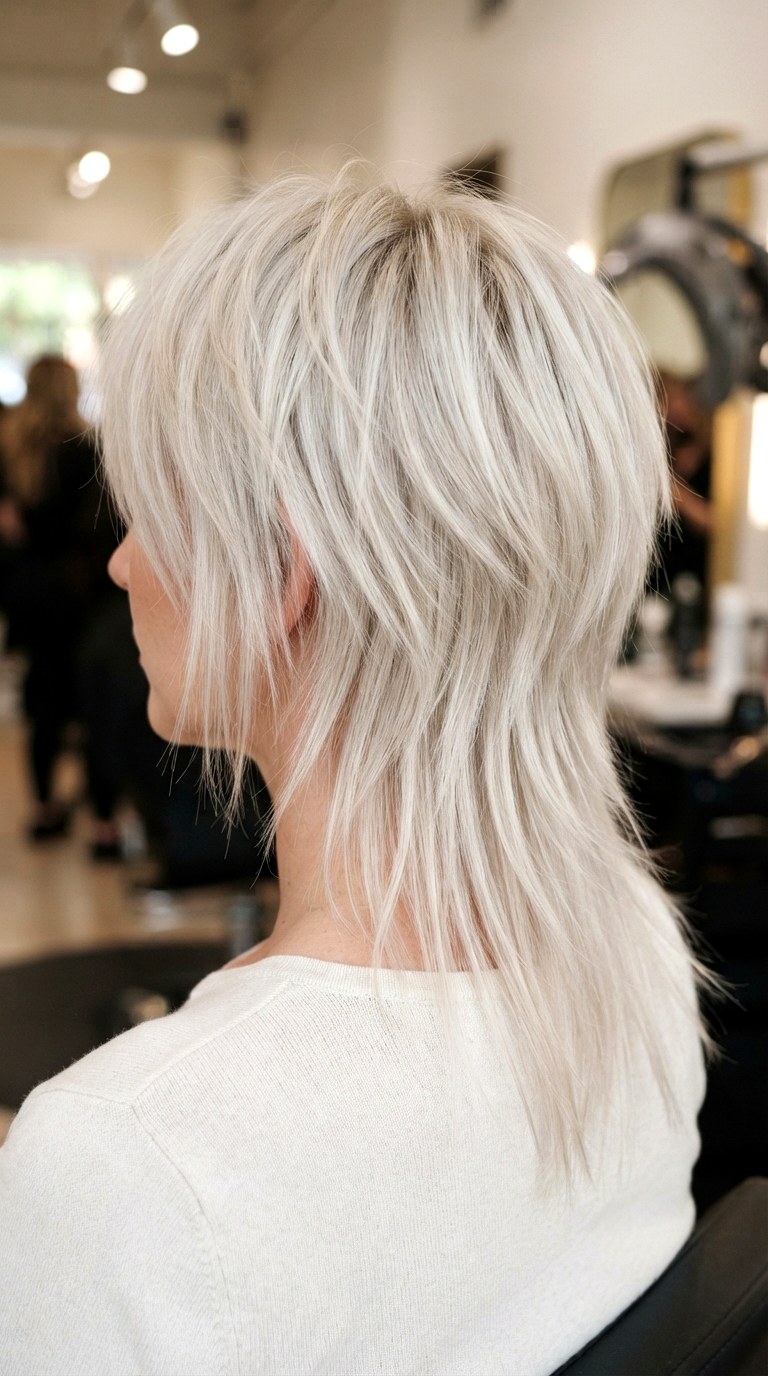
Razor cutting is a game-changer for the wolf cut on thin hair. Unlike scissor cuts that can leave ends looking blunt and thick, a razor slices the hair at an acute angle. This creates whisper-thin, tapered ends that fuse together for a seamless blend. The razor technique instantly removes weight while maximizing swing and sway. As the hair moves, these feathered ends overlap, closing gaps and creating a solid-looking mass. This method delivers that coveted “lived-in” rock-and-roll texture without any chunky, heavy weight lines.
7. Disconnected Top Layers

Creating a deliberate disconnect between the upper crown and the lower lengths is a brilliant optical illusion. By cutting the top layer of the wolf cut significantly shorter, you build a shelf of independent volume. The lower, longer layers remain sleek and thin, acting almost like a curtain. The juxtaposition tricks the eye into seeing the density of the top layer as overall thickness. Style the top portion with a texturizing powder to emphasize the separation, making the hair look twice as full and ruggedly wild.
8. Face-Framing Ladder Cuts

Face-framing pieces shouldn’t just be a single layer; they should be a ladder. This involves cutting 3–4 graduated steps starting from the cheekbone down to the chin. For a thin hair wolf cut, these rungs create a continuous line of bulk that frames the face. Instead of one wispy strand hanging limply, you have a concentrated cascade of hair. This technique builds weight around the face, which is where you need it most for photographs and first impressions, framing your eyes and cheekbones with a dense-looking swoop.
9. Baby Lights for Deep Dimension

Color is a secret weapon for thin hair. Introducing baby lights—ultra-fine, subtle highlights—mimics the natural dimension found in thick manes. Unlike chunky highlights that can look striped, baby lights weave seamlessly into the base color of your wolf cut. The contrast between the light and dark strands creates a shadow effect, giving the optical illusion of depth. This multi-tonal approach breaks up the visual plane so the eye cannot perceive exactly how much hair there is, making the head look fluffier and fuller.
10. Overnight Heatless Volume Set

Staying away from daily heat tools preserves the integrity of delicate fine hair. An overnight heatless set is the perfect partner for the wolf cut. Twist your damp layers loosely around a silk rod or in pin curls, focusing on the crown and the face frame. As you sleep, the hair dries into a voluminous, bouncy texture. In the morning, shake it out with your fingers for a disheveled wolfy look. This method lifts the roots naturally and bends the layers away from the scalp without causing thermal damage or flat-iron creases.
11. Sweeping Side Part Switch
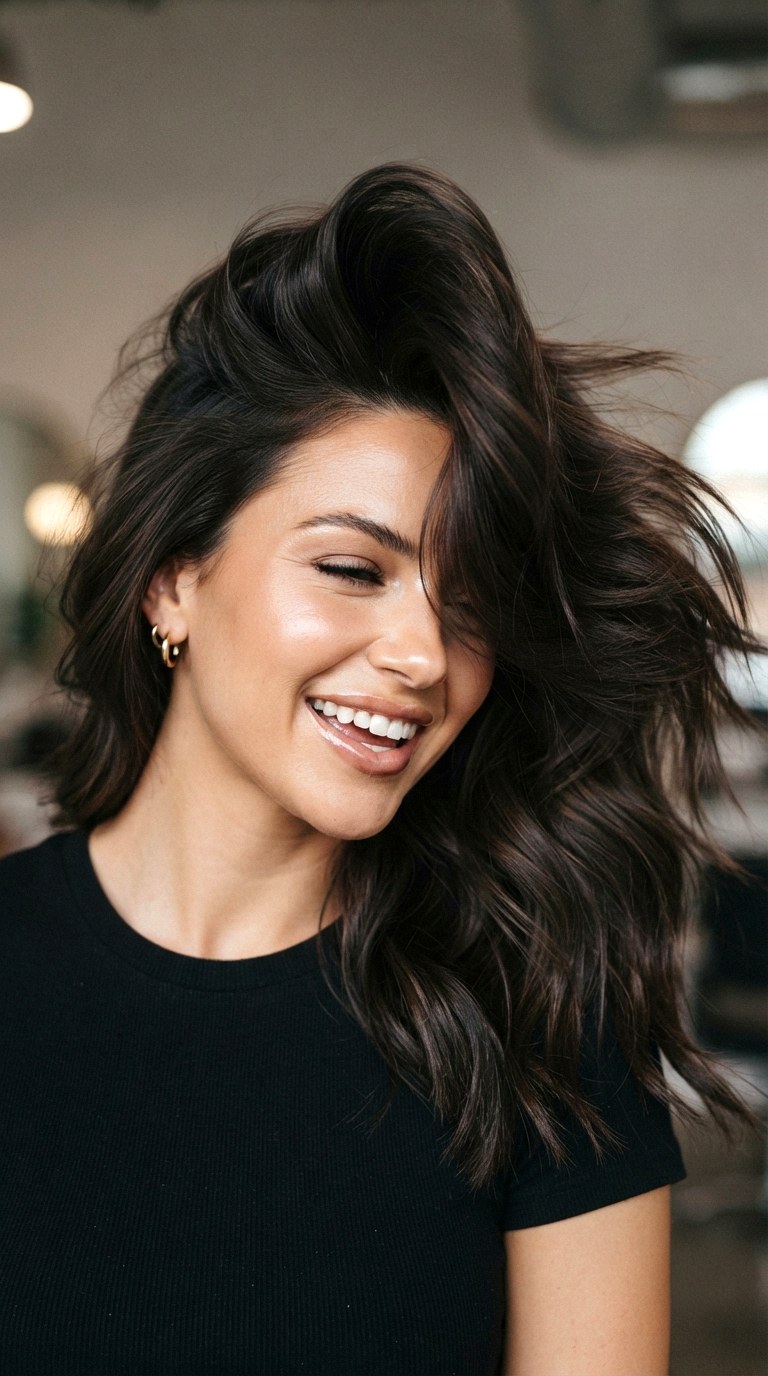
Your scalp has a memory, and hair tends to fall flat if parted the same way constantly. For an instant wolf cut lift, simply flip your hair into a deep, sweeping side part on the opposite side. This forces the roots to stand up against their natural growth pattern. The heavy fringe of the wolf cut will swoop dramatically across the forehead, merging with the shorter crown layers. This creates a massive pompadour-like bump on one side, adding vintage glamour and surprising volume to otherwise pancake-flat morning hair.
12. Shaggy Mullet with Air Bangs
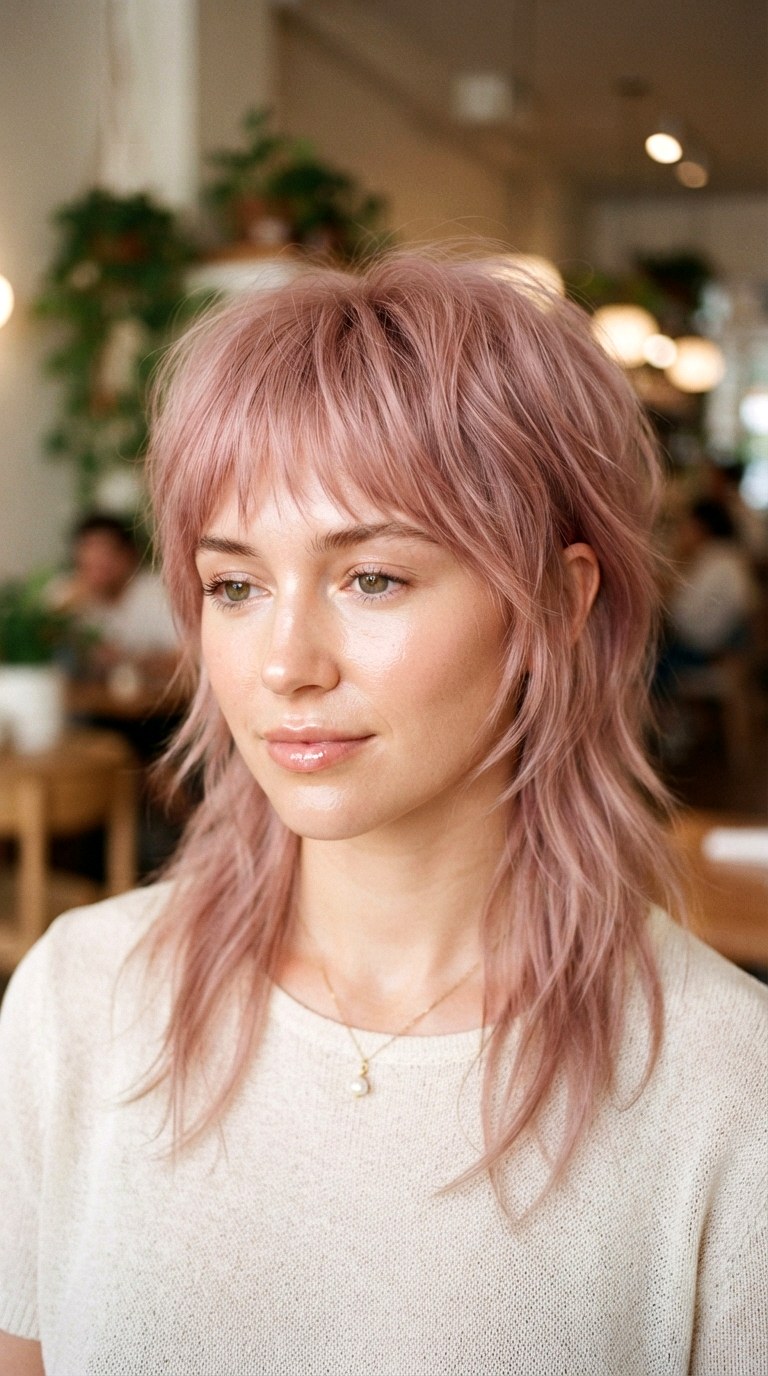
Lean fully into the mullet heritage of the wolf cut with air bangs. Air bangs are ultra-thin, almost see-through fringes that allow the forehead skin to peek through. For thin hair, this is perfect because it doesn’t steal precious hair density from the back. Combined with a shaggy mullet shape—party in the back, business in the front—the air bangs keep the look soft and romantic. The wispy nape layers at the back add a feathery finish, preventing the perimeters from looking see-through.
13. Pixie Wolf Dramatic Crop
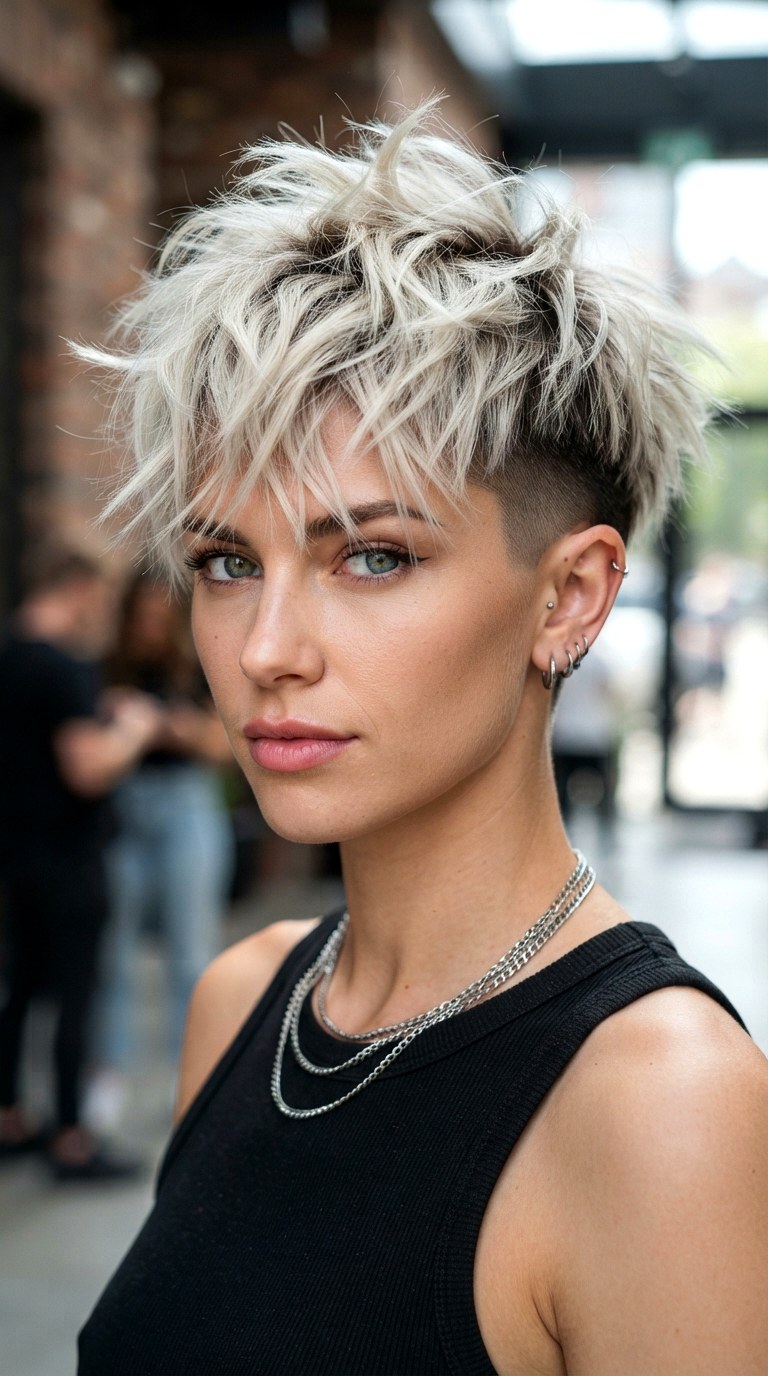
Short is often best for thin hair, and the pixie wolf cut takes no prisoners. This ultra-cropped version concentrates all the hair’s weight within two inches of the scalp, obliterating the heavy pull that causes flatness. The top is heavily layered and jagged like a wolf’s mane, while the nape is tightly textured. This high-contrast ratio creates an explosion of volume on the top of the head. It’s a daring, edgy choice that uses the scalp’s natural curvature to produce a perfectly rounded, full-bodied silhouette.
14. Layered Collarbone Curtains

If you prefer a medium length, the collarbone is the sweet spot. Cutting your wolf cut to brush the shoulders allows for serious layering without the ends looking see-through. “Curtains” refers to the fluid, bouncy layers that open up like drapes around the neck. The collarbone provides a natural resting spot that pushes the layers outward, preventing them from straightening into limp strands. This creates an automatic flip at the ends that adds width to the silhouette, balancing out a narrow face and thin strands.
15. Spray Wax Piece-y Definition
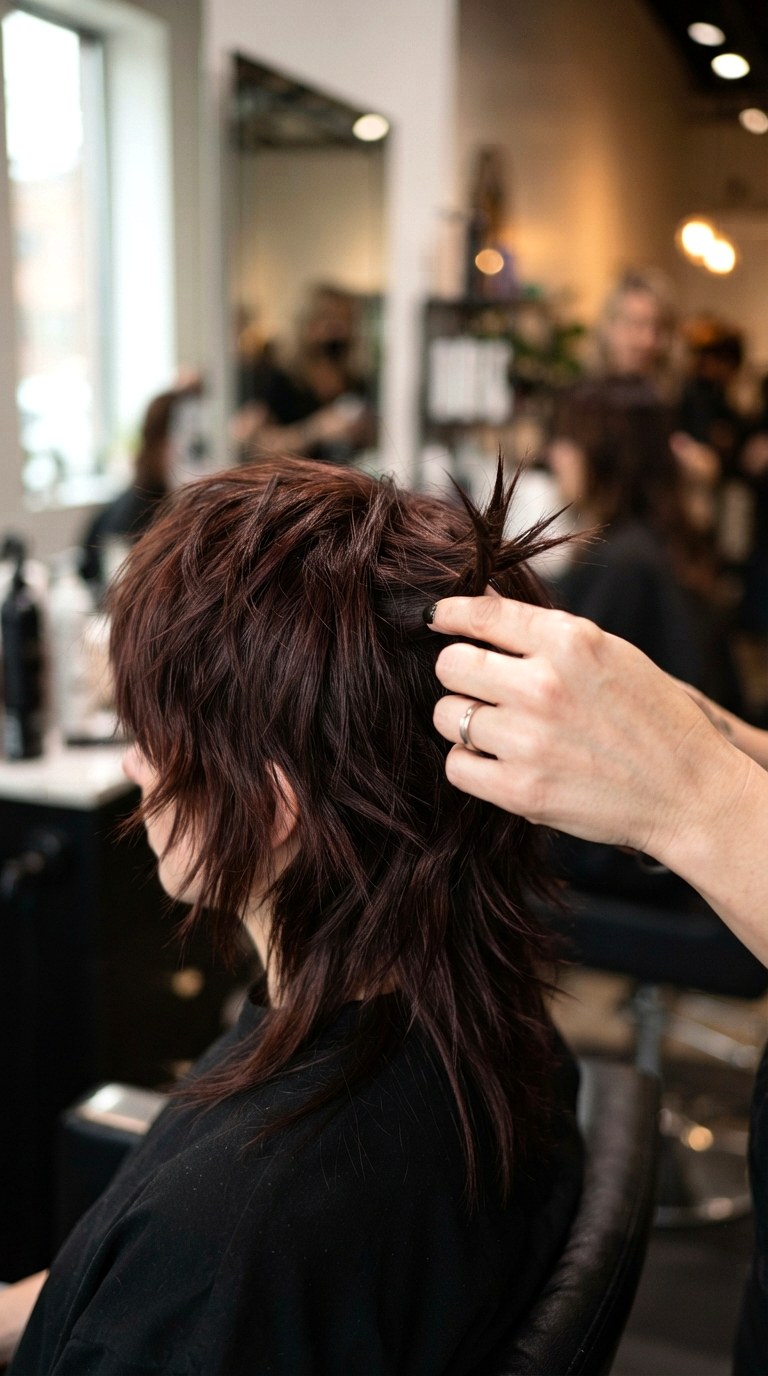
Product choice matters immensely. Heavy oils and creams clump thin hair together, exposing the scalp. Swap your cream for a lightweight spray wax. This aerosolized product coats the fibers microscopically, adding friction and grip between the strands. Use it on your dry wolf cut to twist and pinch the ends into sharp, piece-y spikes. This messy definition separates the layers aggressively, creating negative space that paradoxically makes the hair look thicker and fuller because the texture is so distinct and gritty to the eye.
16. Stacked Nape Double Volume
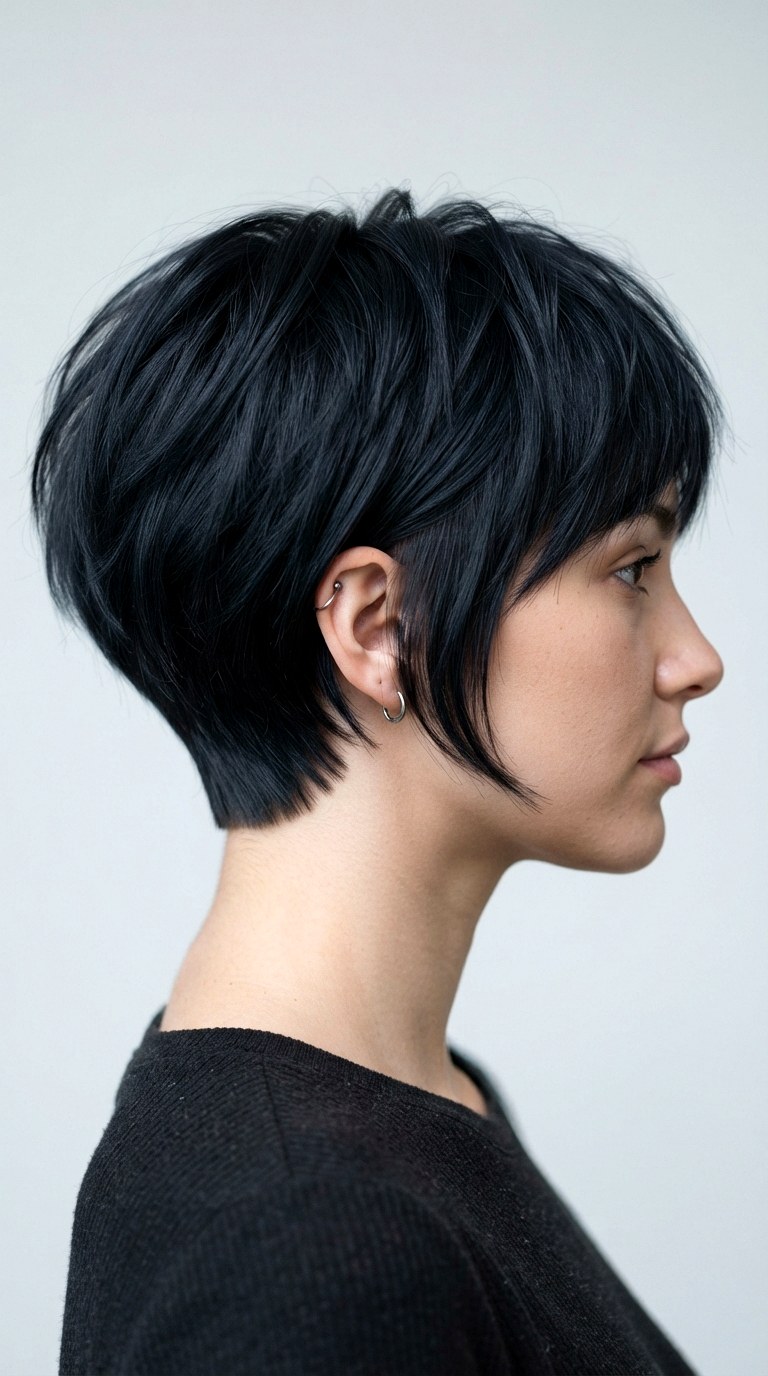
Focus the bulk of your layering on the nape. A stacked nape on a wolf cut builds a solid shelf of hair right at the back of the head. This pushes the upper layers forward and upward. When viewed from the profile, this creates a dramatic convex curve that provides “double volume”—the eye reads the visual mass of the stacked hair as density throughout the head. This technique is particularly effective for people with a flat occipital bone, creating a beautifully rounded skull shape that makes hair look abundant.
17. Dry Texture Spray Prep
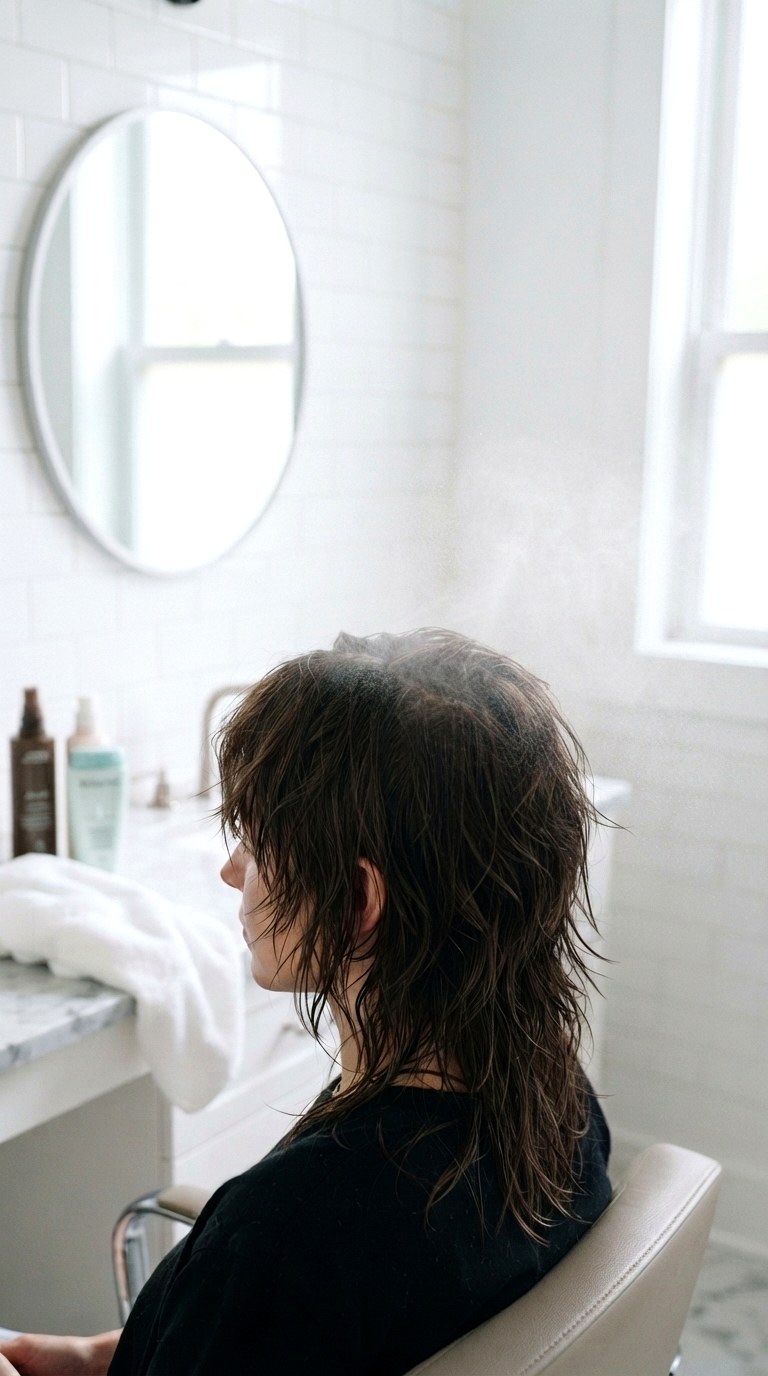
Styling starts with prep, not finish. On clean, damp thin hair, mist a liquid dry texture spray from roots to mid-lengths before blow-drying. Unlike finishing sprays, a prep spray activates with heat to swell the hair cuticle, physically increasing the diameter of each strand. This “fat up” effect provides the perfect gritty canvas for a wolf cut. As you rough-dry your hair upside down, the product locks in the lifted root position. The result is a matte, touchable texture that looks naturally thick and effortlessly messy.
18. Asymmetrical Fringe Detailing
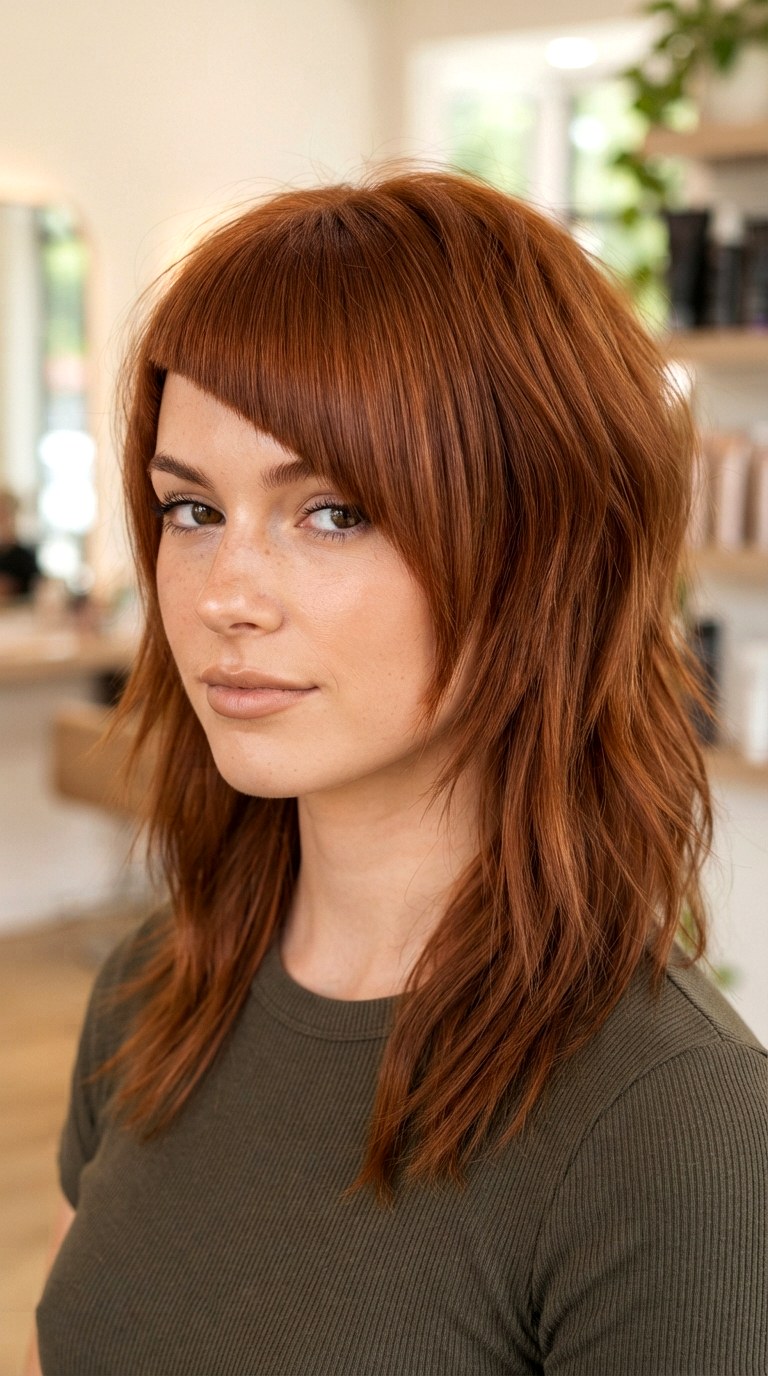
Symmetry can sometimes look too structured for thin hair, revealing any lack of density. An asymmetrical fringe cuts across the forehead at a steep angle, starting short on one side and plunging longer down the cheekbone on the other. This diagonal line confuses the eye and draws attention away from the hair’s thickness, focusing instead on the dynamic design. It creates a sweeping motion that mimics the dramatic, wind-blown look of a heavy mane, even when the hair is static and still.
19. Low Maintenance Bedhead Finish

The wolf cut thrives on imperfection. Over-styled thin hair looks rigid and exposes gaps. Embrace the “bedhead finish” by minimizing your routine. After a rough blow-dry, simply massage the scalp to break up the roots and let the layers fall where they may. The goal is a slept-in look that prioritizes a dusty, matte texture over slick polish. This low-maintenance approach means you aren’t constantly manipulating and separating strands, allowing the hair’s natural clumping to occur, which signals a casual, thicker density.
20. Root Smudge Shadow Stretch
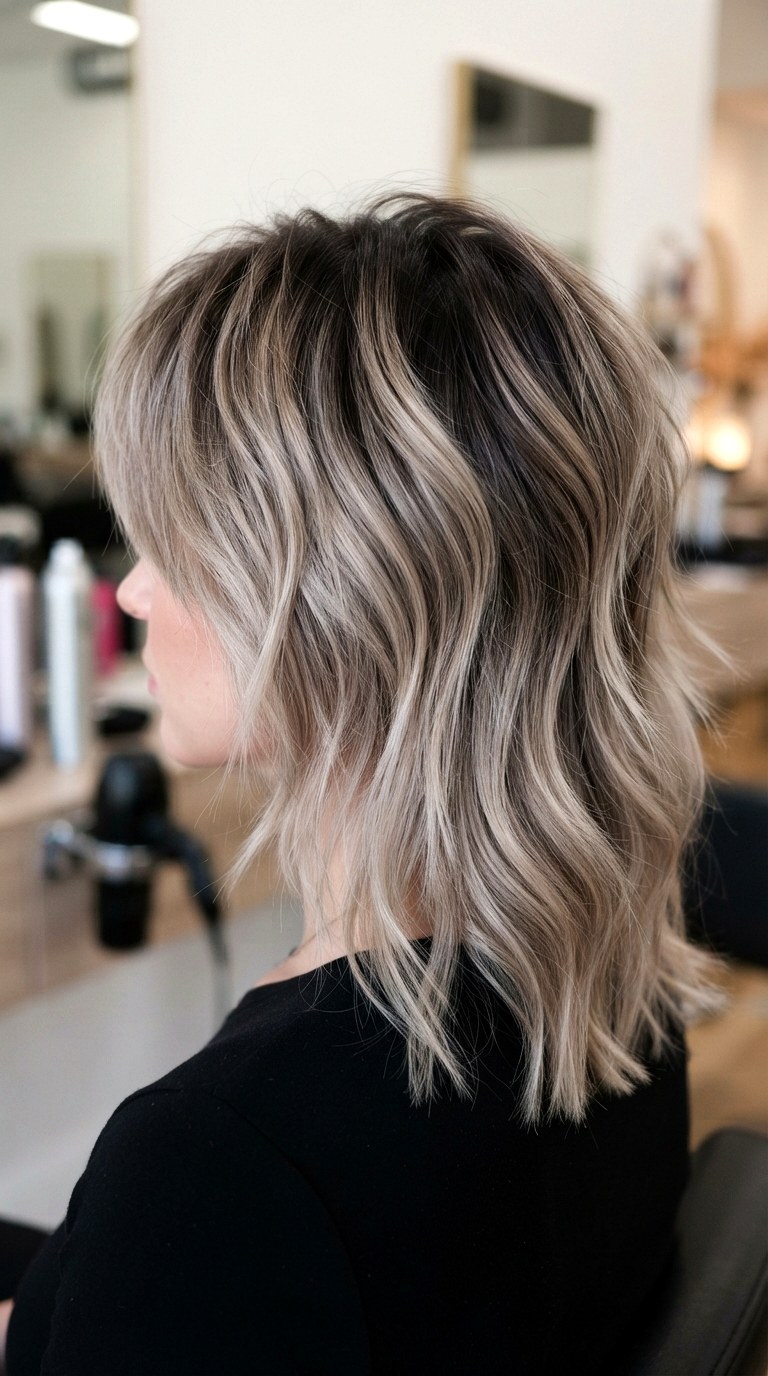
A root smudge or shadow root is a color technique where the dark natural color is stretched down into the lighter highlights of the wolf cut. This creates a lived-in, deep base. For thin hair, the shadow root blurs the demarcation line of the scalp, making it much harder to see where the hair parts. By hiding the stark contrast of a bright scalp against dark hair, the root smudge creates the illusion of a dense, dark undergrowth pushing the lighter, airier layers outward and upward dramatically.
21. Invisible Layer De-Bulking
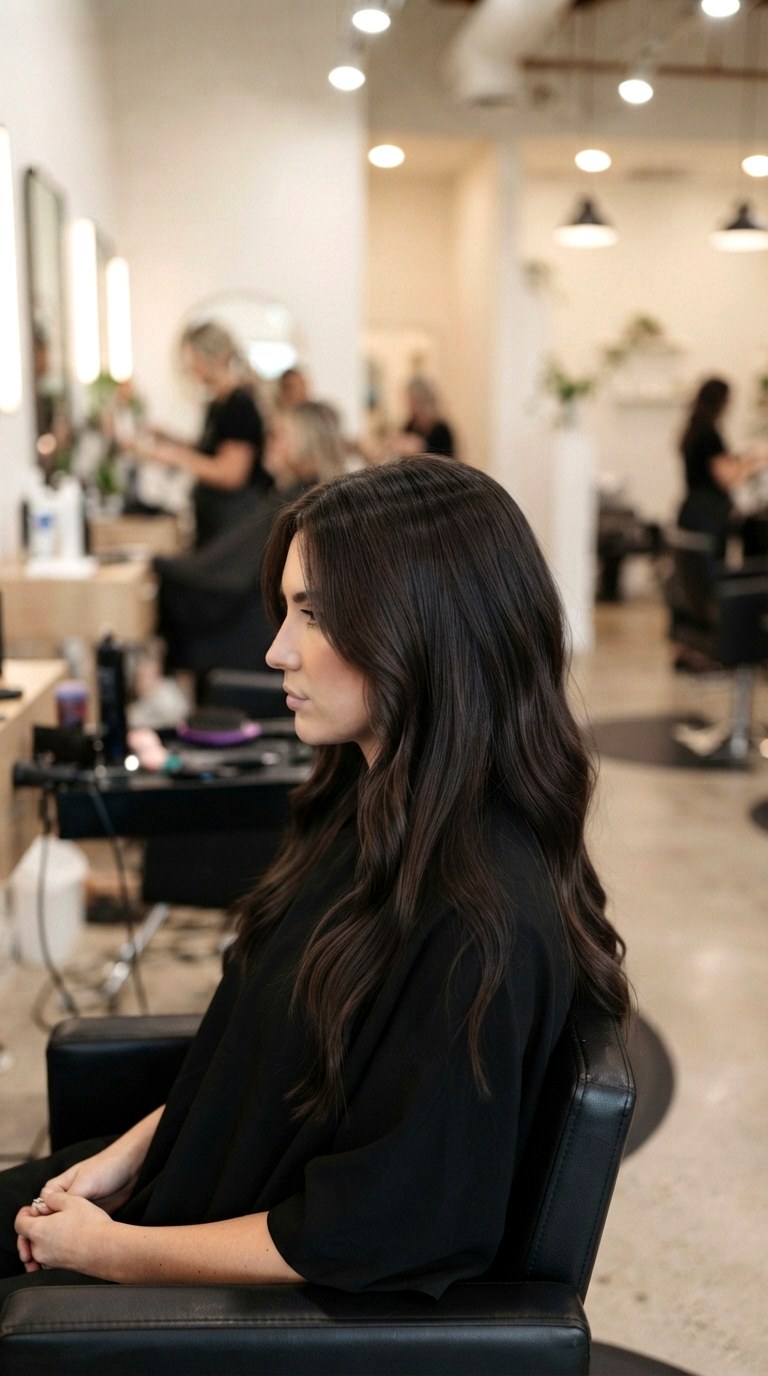
De-bulking doesn’t mean removing weight until it’s gone; it means internal texturizing. Invisible layers are cut into the center of the hair strand, not the ends. This technique removes bulk from thick spots while leaving the surface hair long and smooth. In a wolf cut for thin hair, this is used sparingly to create a “crunch” when you squeeze the hair, adding hidden support beams. These inner short hairs hold up the longer outer hairs like scaffolding, generating a volume that is completely hidden but physically sturdy.
22. Blow Dry Upside Down Sculpt
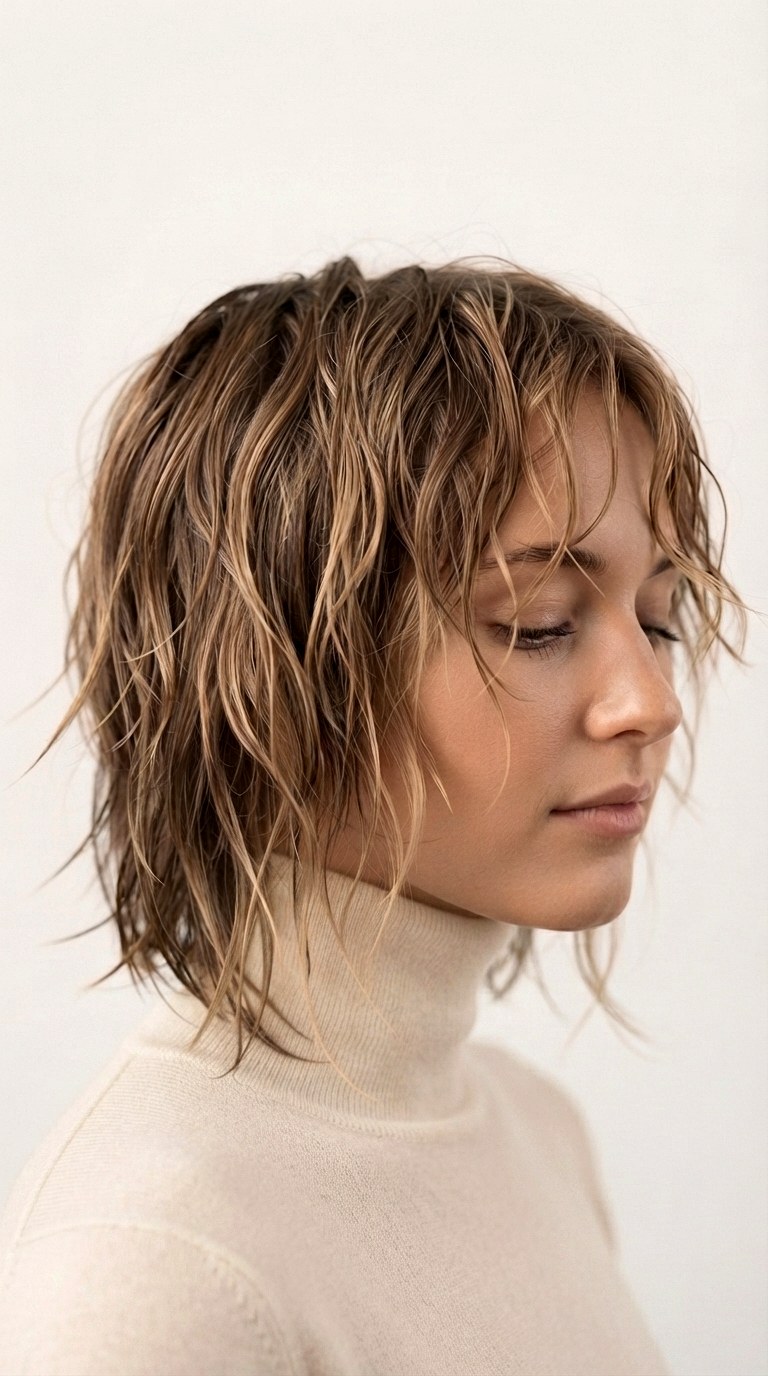
Master the upside-down blow-dry to maximize your wolf cut’s shape. Flip your head over and direct the nozzle airflow from root to tip, pushing the roots straight upward. Use your fingers to scrunch the mid-lengths as the heat hits them. Once 90% dry, flip up and don’t brush. The chaos created by this inverted drying method solidifies the “back-combed without back-combing” volume. It specifically activates the disconnected top layers, ensuring they stand proud and jagged, resembling the wild scruff of a wolf’s neck.
23. Jawline Slice Chunking
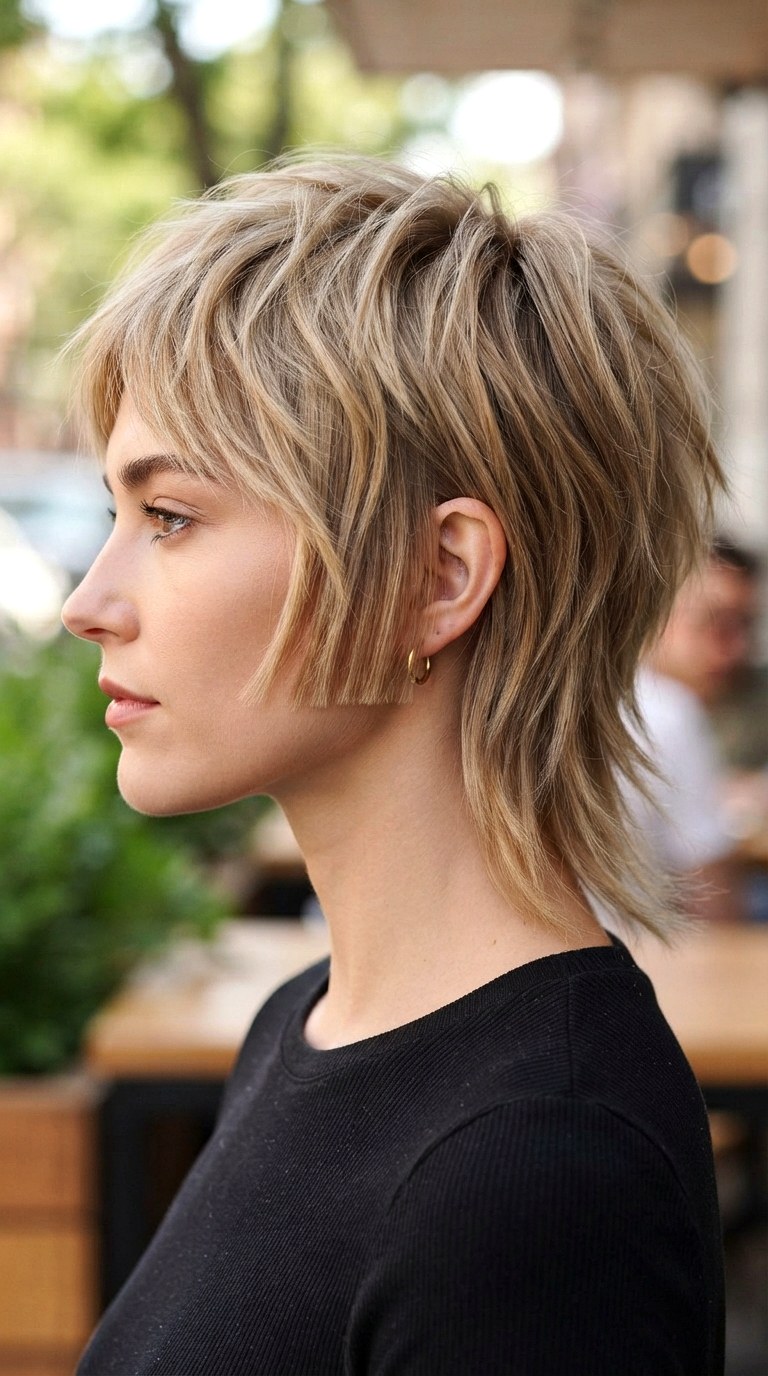
To avoid the hair looking wispy below the ears, ask for “chunking” at the jawline. This involves taking wider slice sections right at the jaw level and cutting them bluntly, while the rest remains feathered. In a wolf cut, this creates a weight-bearing ledge right where fine hair usually disappears. When the hair swings forward, these chunky slices bounce off the jawbone, creating a heavy, structural band of hair. It gives the illusion that the entire head has that same weight and density all over.
24. Textured Top Knot Transition

Your wolf cut should look great up. For thin hair, a tight pulled-back ponytail is the enemy. Instead, use the front layers to create a loose, textured top knot. Twist and pin the heavy crown section up, leaving the wispy mullet-length pieces falling freely at the nape. The top knot creates a massive focal point of volume on the top of the head, while the messy, loose ends of the wolf cut at the back maintain the silhouette. It’s a controlled chaos that works perfectly for second-day hair.
25. Bold Color Blocking Accents
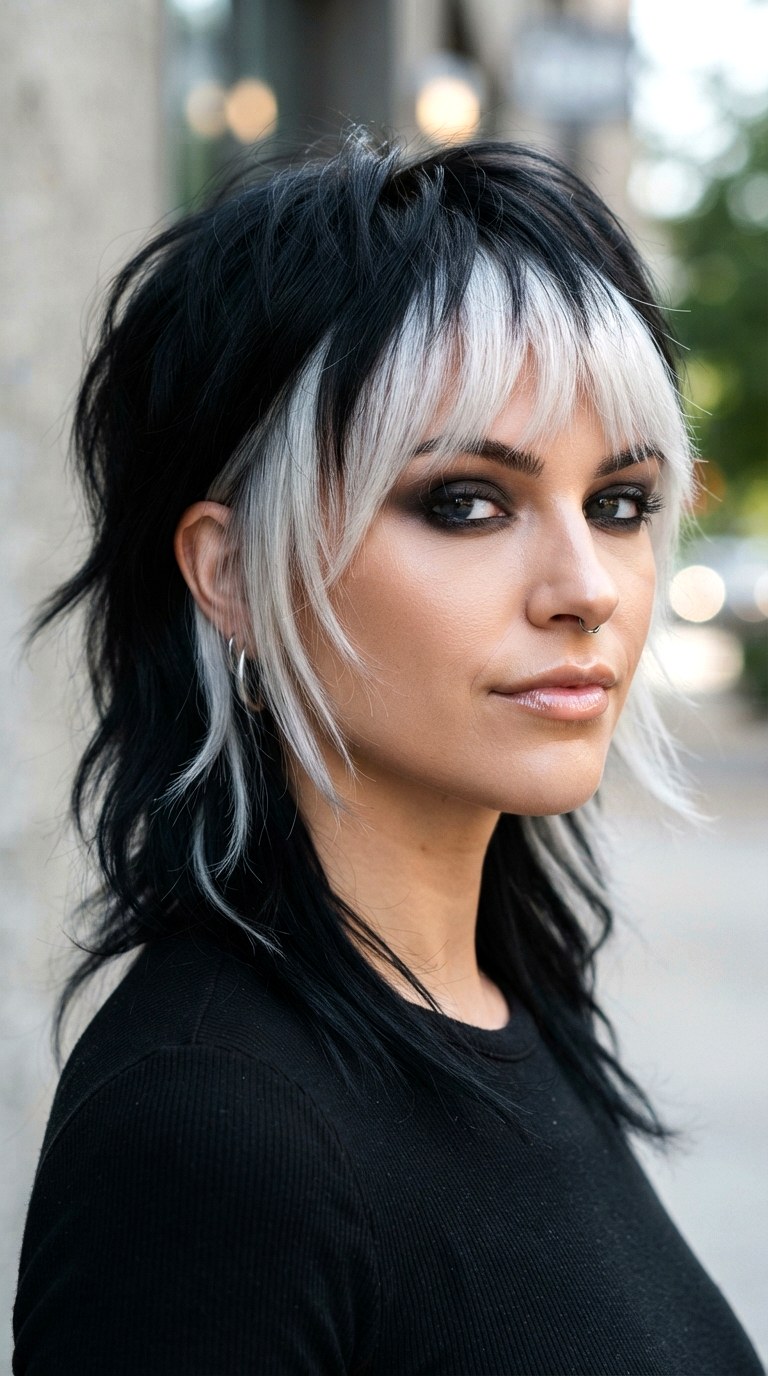
Don’t underestimate high-contrast color blocking. Taking a thick section of the front money piece or the very tips of the wolf cut and coloring it a bold, solid contrast—like platinum against black or copper against brown—adds visual weight. The solid block of pigment catches light differently than the feathered layers, appearing heavier and denser. This technique strategically places “visual mass” exactly where you want the eye to perceive thickness, without layering on more physical fibers that could strain the roots.
26. Strategic Headband Accessorizing

Accessories are practical volume boosters. Placing a padded fabric headband about two inches back from your hairline pushes the wolf cut’s layers forward and upward instantly. This lifts the bangs and creates a dome of volume at the back of the band. For thin hair, choose a velvet or textured band that grips the strands without slipping, effectively lifting the root permanently while worn. It’s an instant fix for humid days and adds a soft, ’70s-inspired charm to the wild, textured shag silhouette.
Conclusion:
The wolf cut isn’t exclusive to thick hair; it’s a versatile shape that, when tailored correctly, can be the ultimate savior for fine, limp strands. The secret lies entirely in customization—utilizing invisible layers for internal support, swapping scissors for razors, and embracing stylers like dry texture spray over heavy creams. Whether you opt for a dramatic micro bang or a soft collarbone shag, the 26 ideas above prove that texture and volume are an illusion you can control. Trust your stylist, play with texture, and tailor these tips to your unique face shape and lifestyle. Ready to unleash your wild side? Share your favorite wolf cut variation in the comments below and let the transformation begin.
Leave a Reply